VTpass has been around the corner for almost a decade now; providing convenient payment solutions for everyday services for millions of Nigerians.
While you might already know many of VTpass top services such as; airtime/data recharge, GOtv, DStv and StarTimes subscription, auto-insurance, electricity bill payment, education payment, and more; do you know that you can equally purchase bulk quality SMS units from VTpass mobile app?
Why bulk SMS?
Why bulk SMS? You might ask. The answer is easy. At VTpass, our mission is to create a payment platform that cuts across the needs of several markets.
That includes small and medium businesses that rely on the power of mobile marketing, particularly SMS marketing; to grow their brands.
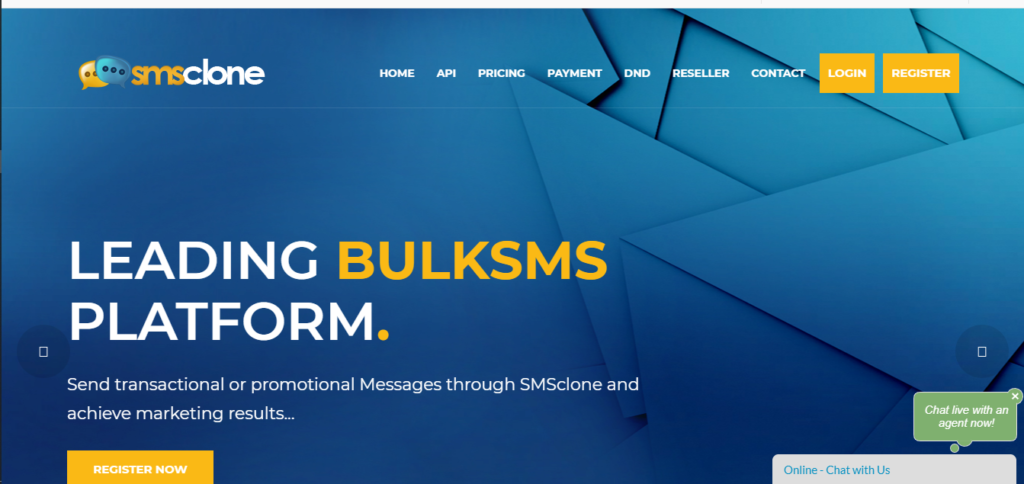
Bulk SMS makes up for over 30% of most businesses mobile marketing budgets. Given how difficult it can be to secure the services of a reliable bulk SMS provider in Nigeria; VTpass partnered with SMSclone, one of Nigeria’s top bulk SMS providers to provide our business clients easy payment and stress-free deliver of quality bulk SMS units.
Since our mobile app offers you easy payment handy, buying bulk SMS from the app saves you the time and process of buying from the web.
How to buy units from your VTpass mobile app
Before initiating a bulk SMS purchase at VTpass, be sure you already have an account with SMSclone.com. Creating an SMSclone account is easy and 100% free. Simply do the following:
- Log on to www.smsclone.com/register
- Fill in your details (name, username, email address and create a password)
- Click on “Sign Up” to create account.
Good to know: You get 10 free SMS units for opening an account with SMSclone!
Once your account is active, you can buy units directly from SMSclone. When next you need units and crave extra convenience, simply follow this process to buy from your VTpass mobile app:
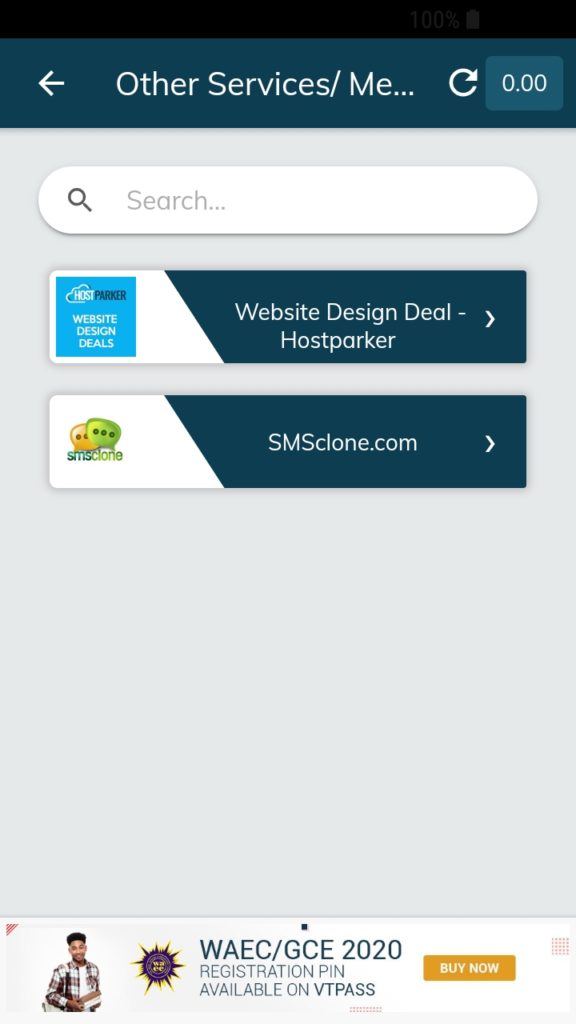
- Open your VTpass app
- Scroll down, click on “Other Services/Merchants“
- Click on “SMSclone.com“
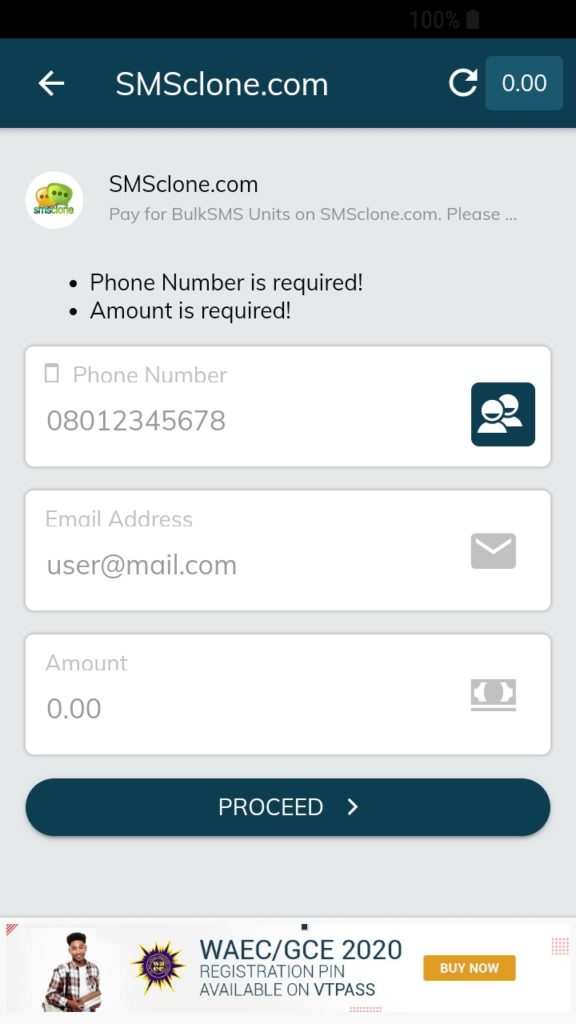
- Enter your details (phone number, smsclone.com username*, email address and amount worth of units you want to buy
- Click on “Proceed” to move to payment page
- Enter your card details, select a card and make payment
That easy. Your units purchased would reflect in your SMSclone account balance.
*If you cannot find a field for filling in your SMSclone username, no problem; go ahead with your payment. Our support team would call you immediately after payment to request for and credit your SMSclone account.
For help or inquiries, simply reach VTpass support by chatting us live through the web or app, send a mail to support@vtpass.com or call 08138752358.